
Recently I borrowed a Canon 6d with a 24mm to 70mm zoom lens. Oh what a joy! Much of the fantastic food photography you see in books and magazines is shot with a Canon 5d, a nice heavy-weight professional bit of kit that can also shoot video. Some TV programmes are entirely shot on the Canon 5d.
The Canon 6d is very similar, but more lightweight and about a grand cheaper. I was so impressed that I bought this camera with a macro 24 to 105mm lens. I also possess a handbag-sized Canon G12 which is convenient for carrying around and for trips.
Here are a few tips to become a better food photographer. These tips and others are included in my book Get Started in Food Writing so if you enjoyed this article do please buy my book!
1) Buy the best camera you can afford. You know all those brilliant photos in cookery books? Those photographers have fantastic cameras and pin-sharp lenses. You’d have to be an idiot to take bad pictures with them. On the other hand, equipment isn’t everything. You can take great pictures with your phone or on a cheap amateur camera. If you’ve got style and a vision, the equipment doesn’t matter.
 |
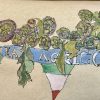
| Food Stylist Louisa Carter, photographer Jason Lowe and assistant, musing over a shot for my book Supper Club. They look quite worried don’t they? |
2) Those professional food photographers have a big team of helpers. Apart from the photographer, you’d have an assistant or two, a food stylist, someone preparing the food, a props person, an art director. Again, you’d have to be an idiot to screw up. But nevertheless I do see cookbooks with absolutely awful pictures. No names mind.
3) Buy a tripod. In the UK most of the year we have gloomy skies and a very short shooting window during winter. A decent tripod, easy to manipulate while shooting, smooth movements, will make shooting in low light a possibility. As a rule you can’t hand-hold steadily if you are shooting at less than 1/60th of a second. I’ve just bought a Manfrotto Befree travel tripod.
 |
| Shooting overhead with a ‘fake’ table top on the floor. Using daylight and a sturdy tripod. Jason Lowe shoot for my book Supper Club |
Composition:
4) Crop. I’m fairly purist about cropping. It’s good training to attempt to get the shot right in camera rather than relying on editing afterwards. The viewfinder in some cameras does not reflect accurately what you will get in the final picture, so check that. However in food photography, cropping is acceptable. Sometimes just a section of the dish is more effective. But try to crop in the camera not in the editing so shoot tight.
5) Angles:
Shoot close: we want to see oozing and shine and texture and drips. We want to feel like we could pick it up and eat it.
Shoot low: fork level. Especially if it’s tall food, then we want to see the layers.
Shoot overhead: this gives an instant graphic look and works well for flat food such as pizzas.
The classic food photo angle is 30 to 45 degrees overhead, giving you an overview of the food and a bit of the bottom of the plate/bowl.
The science bit: you need to master some technical stuff to improve your photography.
Exposure:
Shutter speed is classically this sequence:
8 seconds 4 seconds 2 seconds 1 second 1/2 second 1/4 1/8 1/15 1/30 1/60 1/125 1/250 1/500 1/1000
Aperture is generally this sequence:
1.4 2.0 2.8 4 5.6 8 11 16 22
Photographers call these F/stops or just stops.
The aperture is the ‘hole’ the lens shutter makes when taking a picture, letting light through. The bigger the ‘hole’, the more light.
The speed is how long or short this ‘hole’ is open for. The longer the shutter speed (8 seconds is clearly longer than a 1/1000th of a second) the more light, the brighter your picture.
Play with under and overexposing by setting the needle on the exposure up to one stop above the ‘zero’ mark, or one stop under (also called ‘bracketing your exposures’). Work towards using Manual rather than Automatic. Focus manually and set the exposure manually. But if you are in a situation where you don’t have time to fiddle with settings, then, by all means, shoot on automatic.
Focus and depth of field:
 |
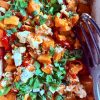
| In this photo of potato salad with fennel blossoms, the very centre is sharp and the rest is blurry. This is an example of a short depth of field. A long depth of field would meant that all of the potatoes would be in focus. |
7) What is a depth of field? A long depth of field is when you shoot a photo and both the front and the back are in focus. A short depth of field is when only a small portion of the composition is sharp. Small apertures (counter-intuitively these are apertures with higher numbers such as 11, 22) give a long depth of field, wider, bigger apertures (with smaller numbers such as 2.8, 4) produce a short depth of field.
Focus: on the frontal part of the food or whatever is the ‘star’ ingredient.
Bokeh: this is not a dubious sexual practice but a Japanese word for the blurry ‘noise’ when you are using a short depth of field. Many photographers try to get good ‘bokeh’ shapes, especially in the macro or very close up photography which is necessary for food.
Light and colour temperature:

8) Use natural light. I hate studio lighting with food, it makes it look synthetic and old-fashioned.
You can make reflectors for bouncing light towards the shadowy side from white boards, tin foil or black boards which add a lovely dark edge. You can make these yourself just by painting a large cardboard box or covering it with foil. Or you can buy a Lastolite, which is a foldable small reflector. The white transparent one can also be used as a diffuser when there is very bright sunlight.
Don’t shoot, if you can avoid it, at midday, certainly in summer. The best light is morning (a blue light) or just before dusk (a warm light).
Make sure, when you are taking pictures, that all the lights are off, especially strip-lighting which has an awful green colour. You want a good ‘white balance’ whereby you are attempting to have a neutral white colour for the whites in your photo.
If the colour looks wrong, shoot in different modes until you find the colour that best reflects your vision of the picture.
Tungsten light (ordinary light bulbs): gives off an orangey light so the tungsten white balance setting will cool it, make it bluer.
Fluorescent/strip light: gives off a greenish light so the fluorescent setting will correct that and give a whiter, more magenta colour.
Candlelight: orangey, warm
Daylight: depends on what time of day.
Early morning: blueish light
Midday: white harsh light
Early evening: warm orangey light.
You can manually adjust the white balance in your camera but auto will do it automatically for you.
9) Sometimes it’s good to shoot against the light, for instance if you want to highlight the texture and sheen. So try shooting from the ‘wrong’ side.
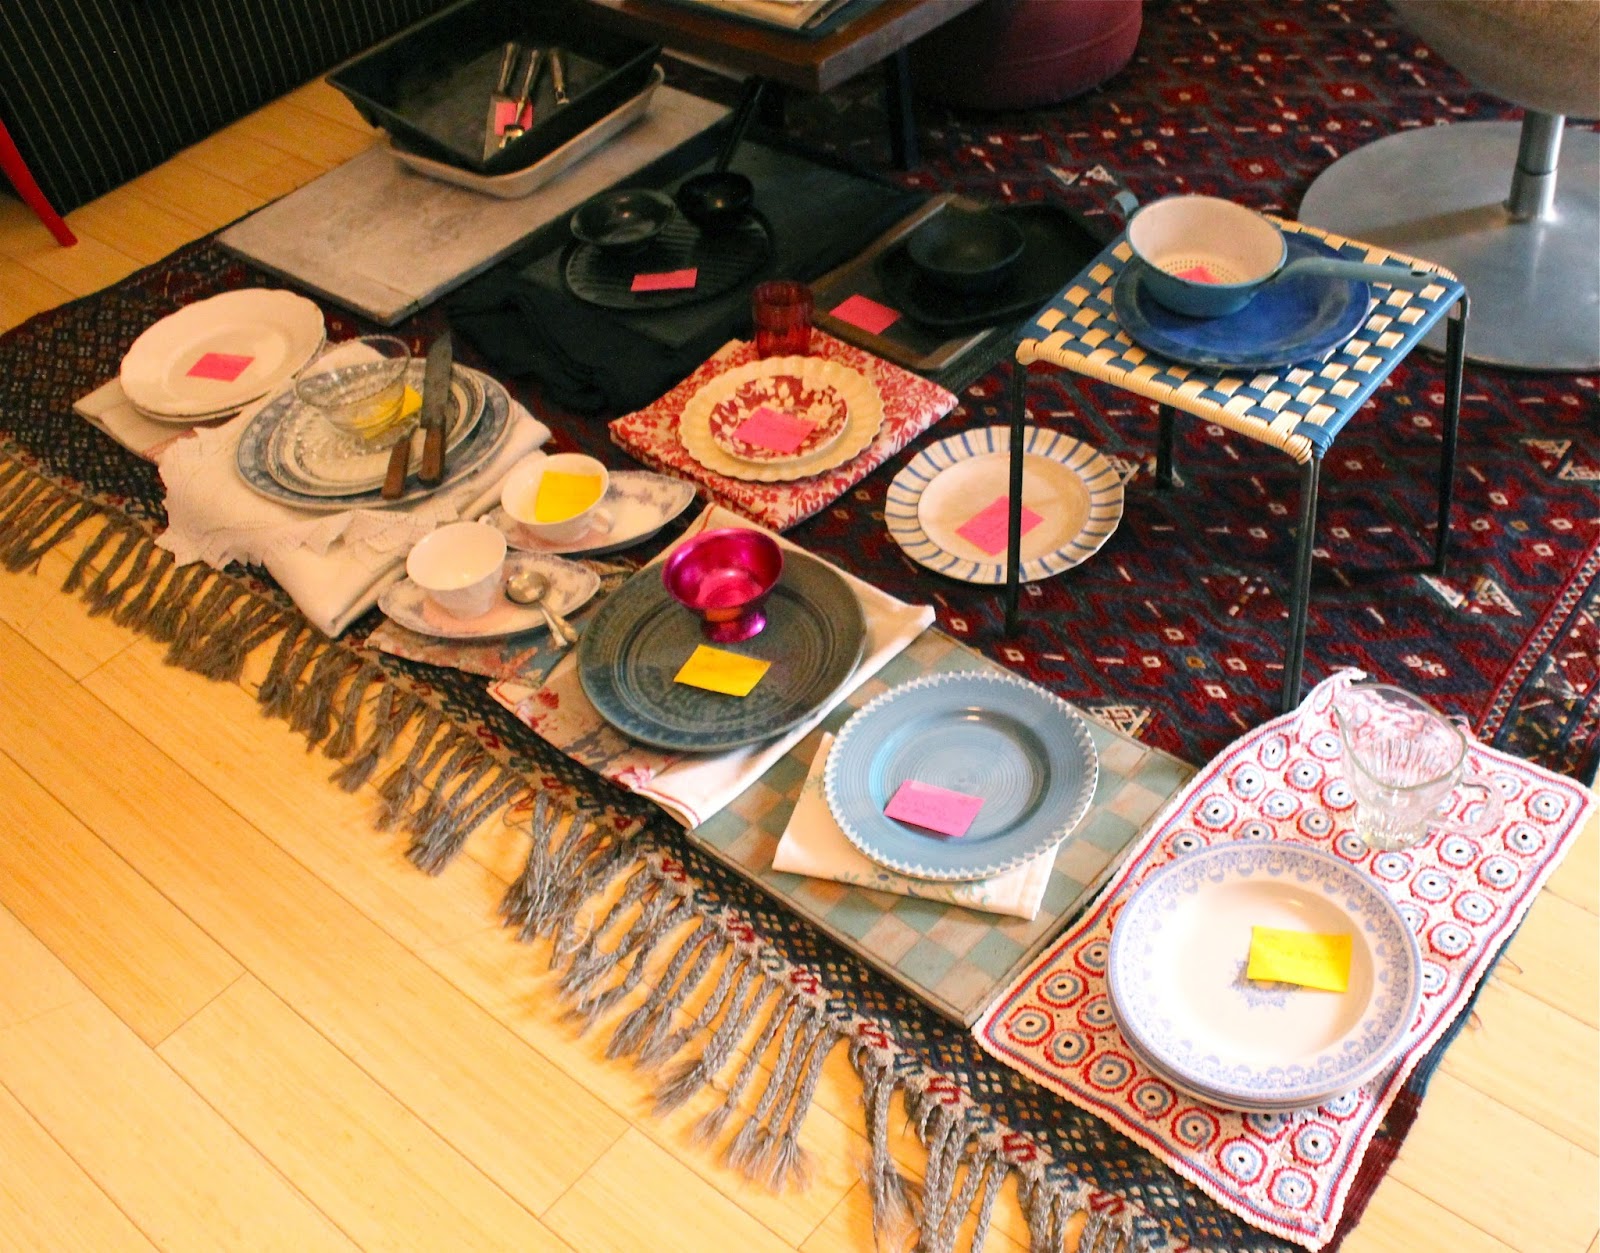 |
| Prop ‘sets’ for each dish of my book Supper Club. |
Props and styling:
10) Great props can help tell the story of the dish but don’t over-prop. You don’t want 1980s style photos with everything going on. Unless you are particularly going for an over the top or retro look.
11) Introduce texture into your props: the metallic sheen of cutlery, the gleam of china, the webbing of a table mat or linen napkin, a wooden bowl. Start collecting: different kinds of cutlery, plates, bowls, napkins, cake stands.
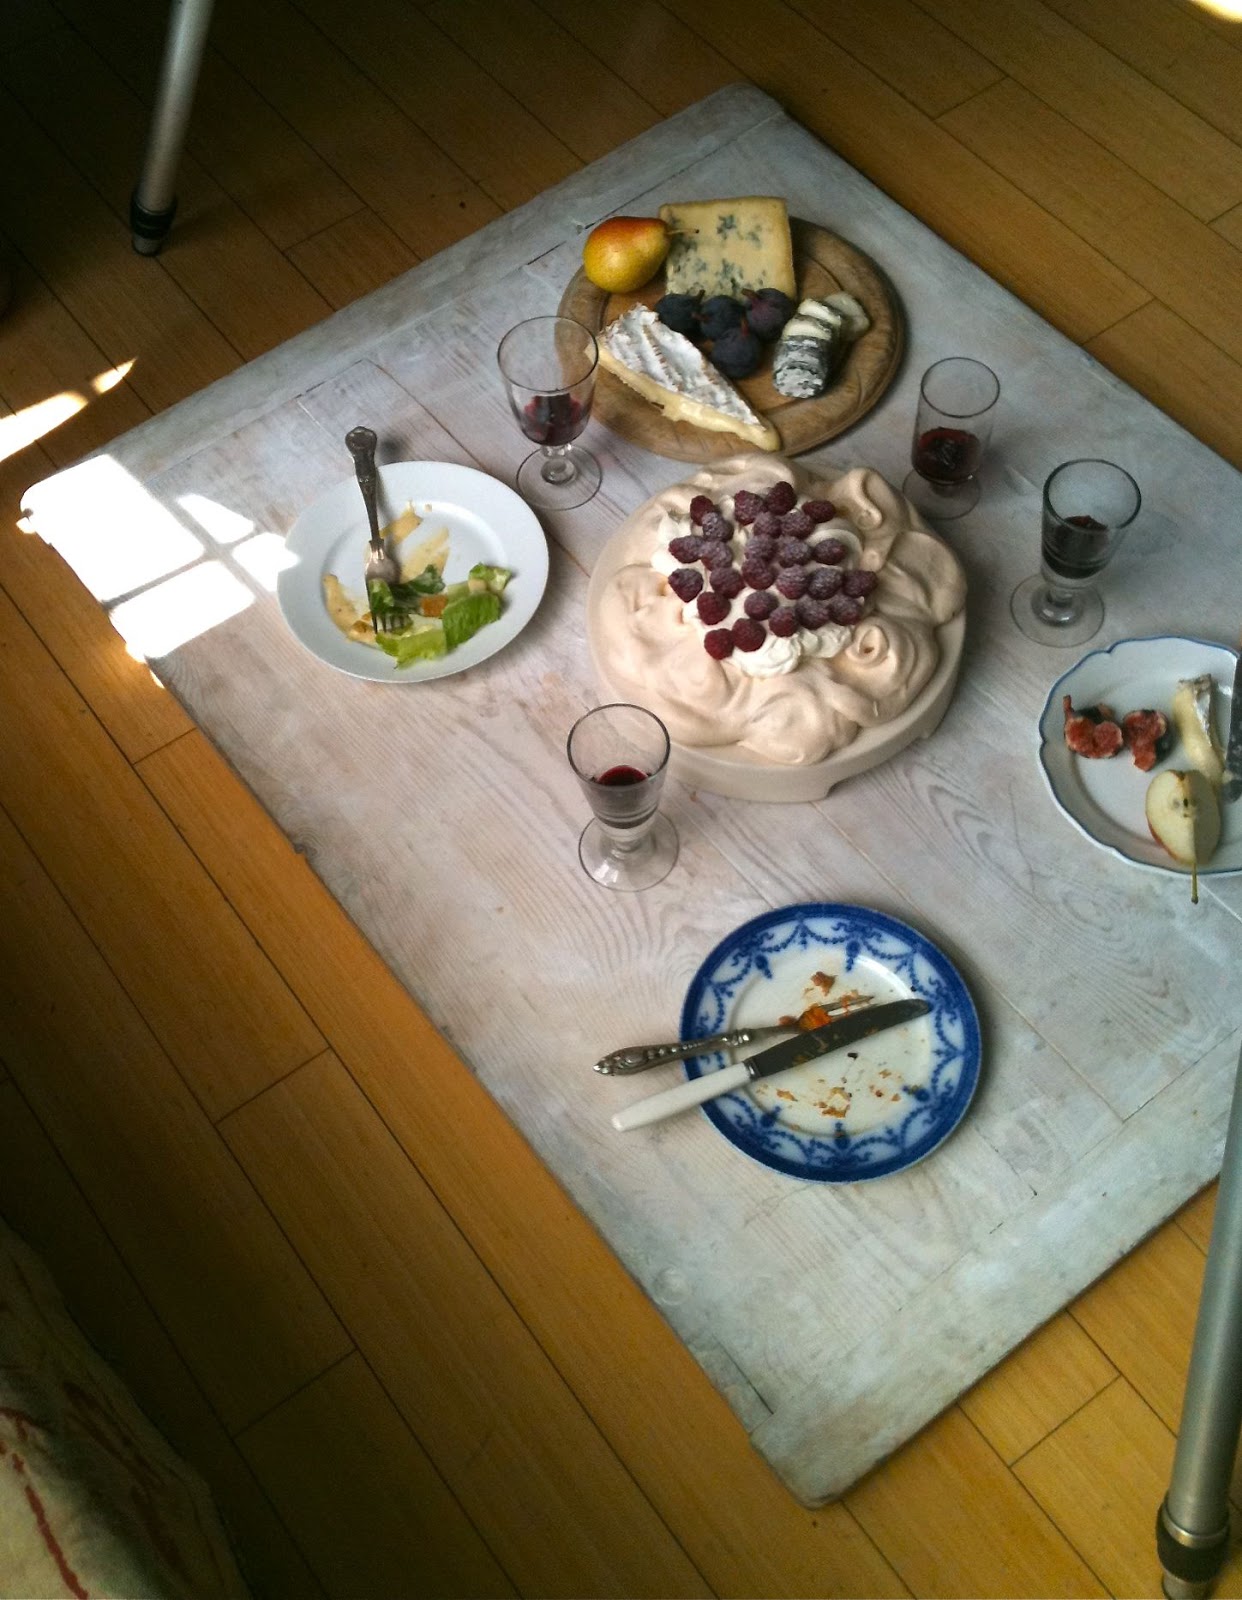
12) Backgrounds: most food is on a round plate, the frame within the frame. Try also to use other devices for presenting food: on a wooden board, on a stone, nestled in plants. Keep looking for good bits of background. An old chopping board, some greaseproof paper, a cooking rack, use wall paper or wrapping paper, tea towels, different table cloths.
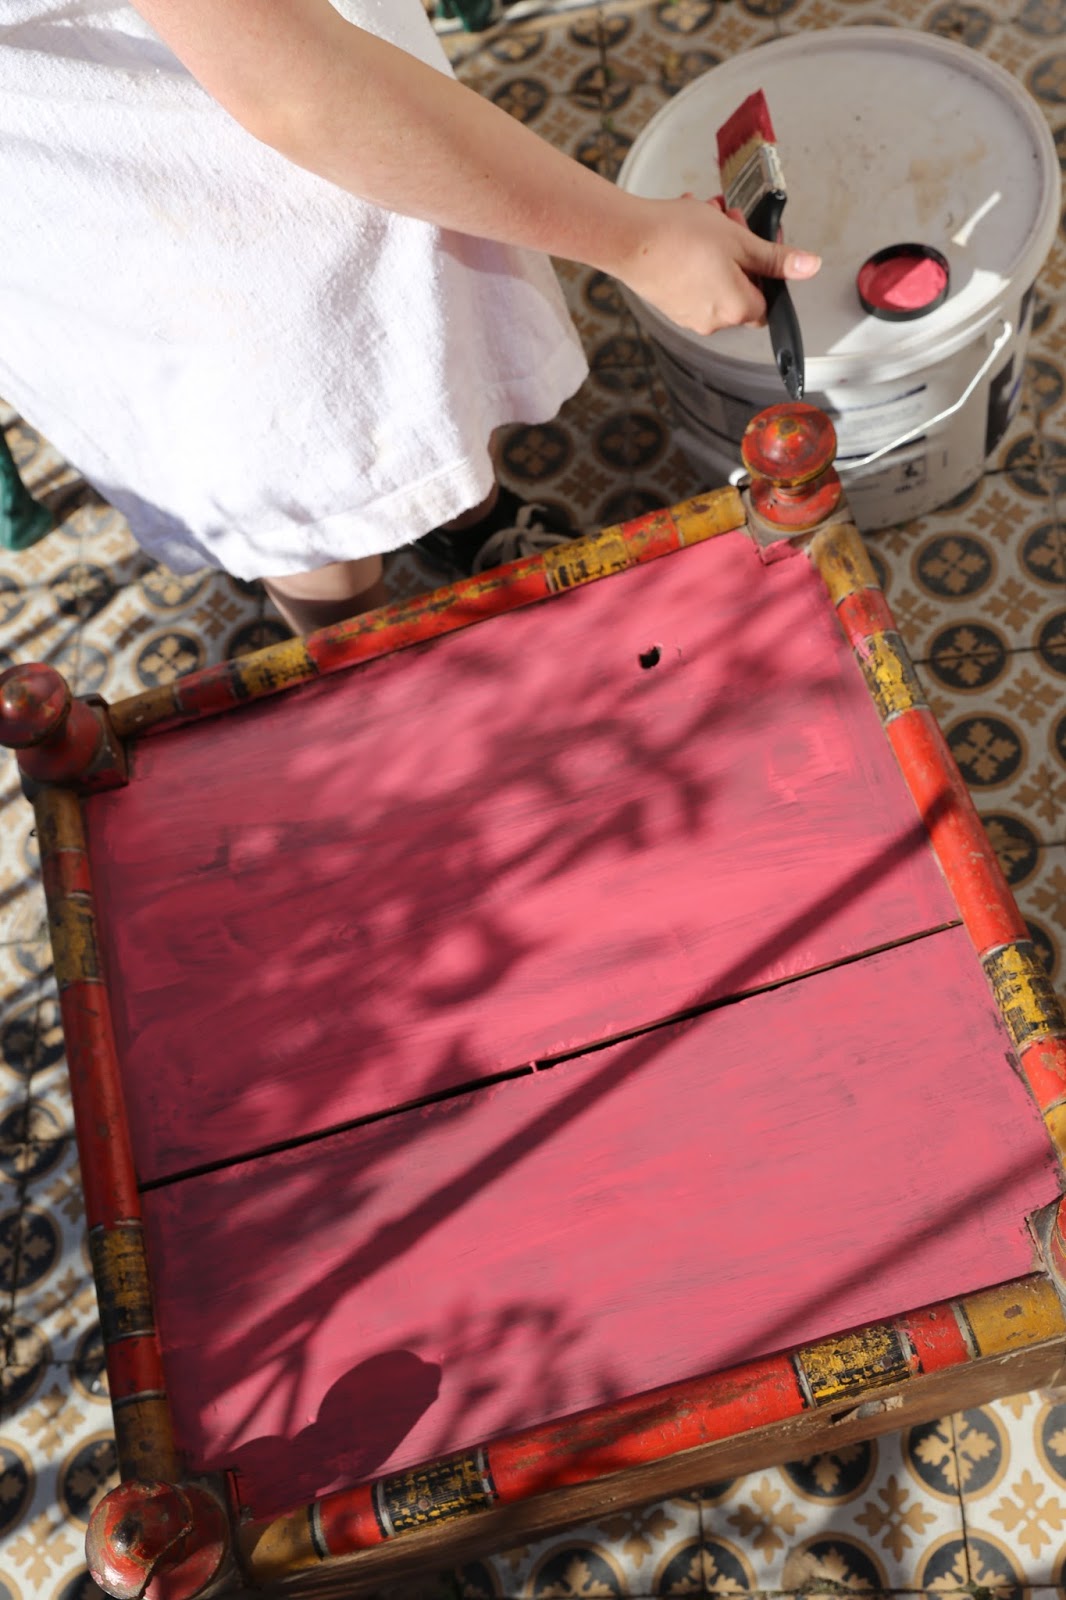

I recently painted some cheap wooden chopping boards in different colours with paint testers. You can get an aged shabby chic effect by painting a strong base colour in emulsion, then rubbing the corners, edges and small areas with a wax candle when the paint is dry. Then, using emulsion paint in white, lightly paint over the strong base colour and waxy areas. Let it dry, then rub lightly with some sandpaper. The wax will come off, letting the base colour shine through.
Food looks great shot on a turquoise or blue background. Much of food is warm coloured, yellows, browns, oranges, reds. Think of complementary colours: orange/blue; red/green; yellow/violet.
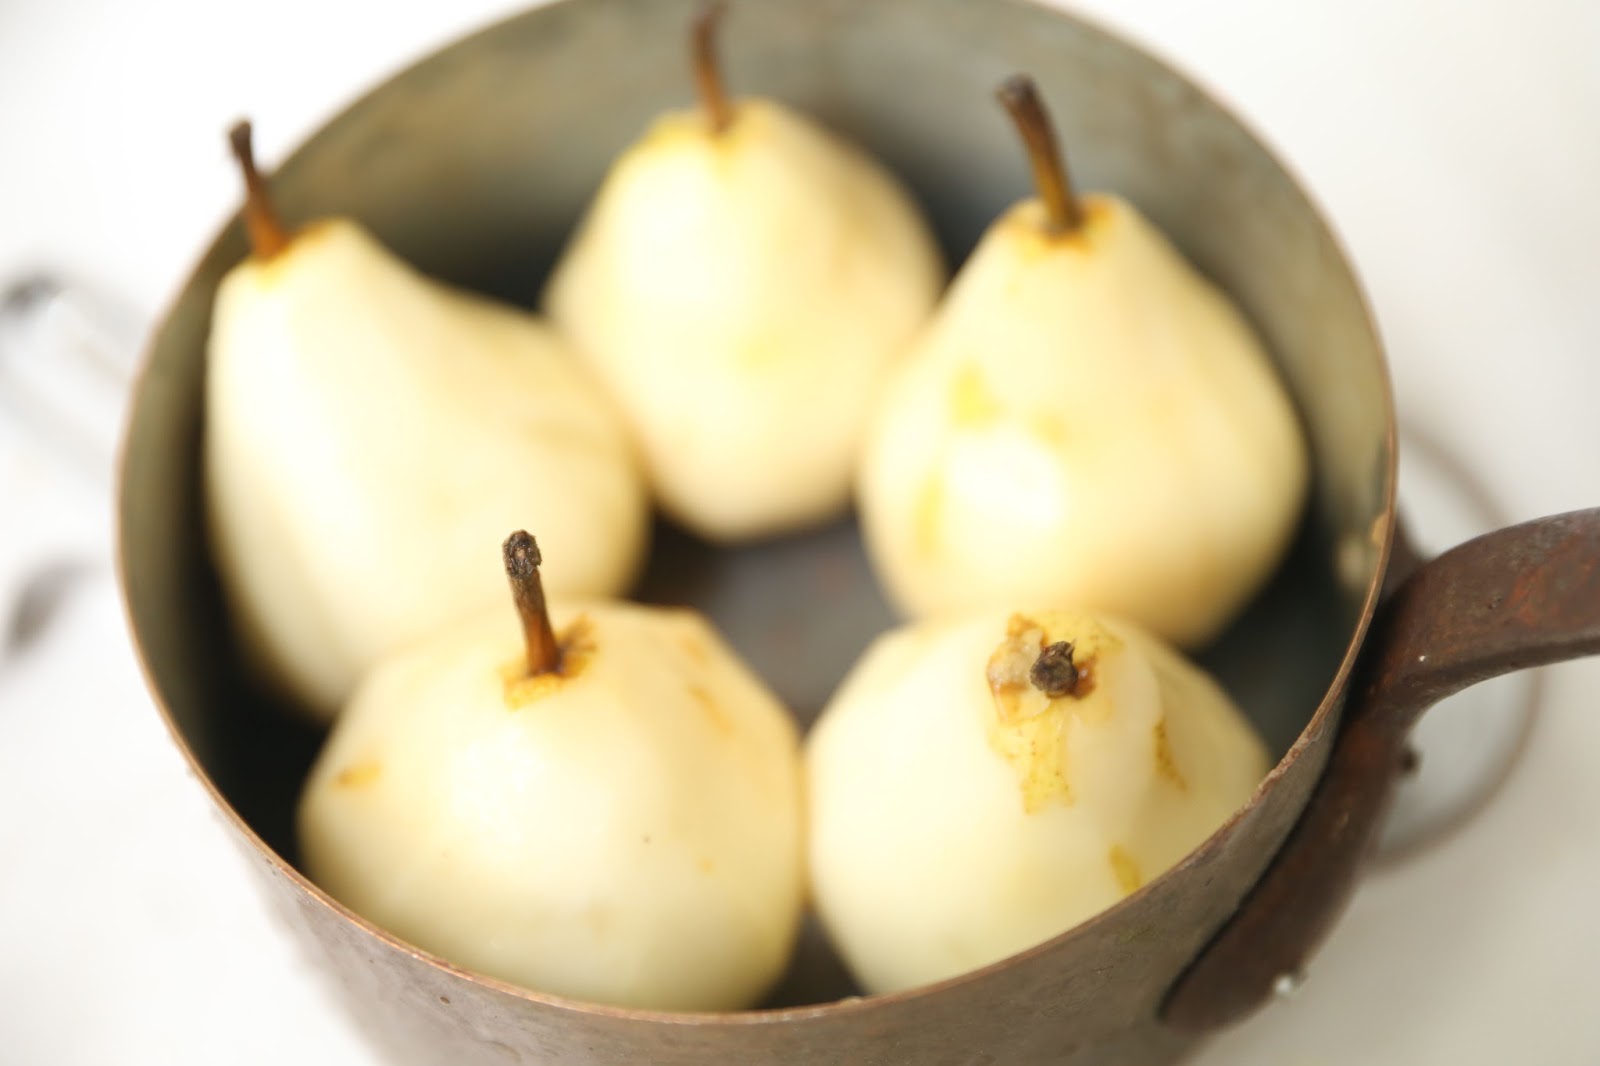
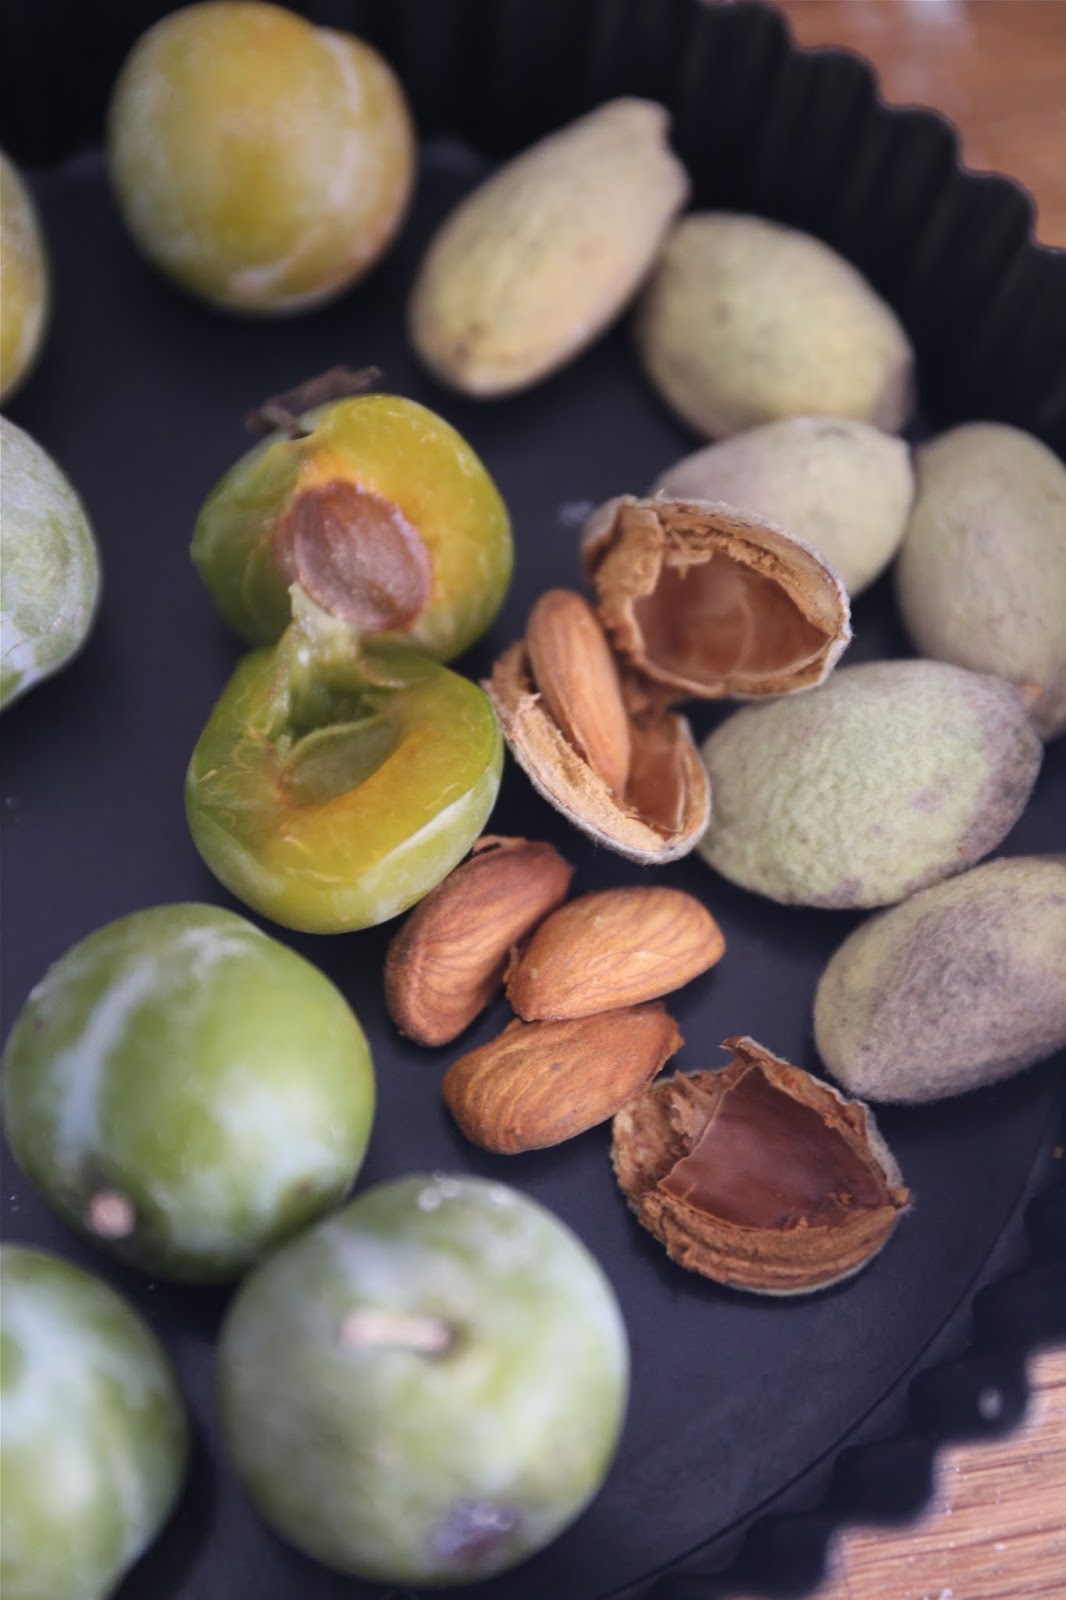
13) Show the ingredients that go into the dish. These can be added to the composition, to demonstrate the steps involved.
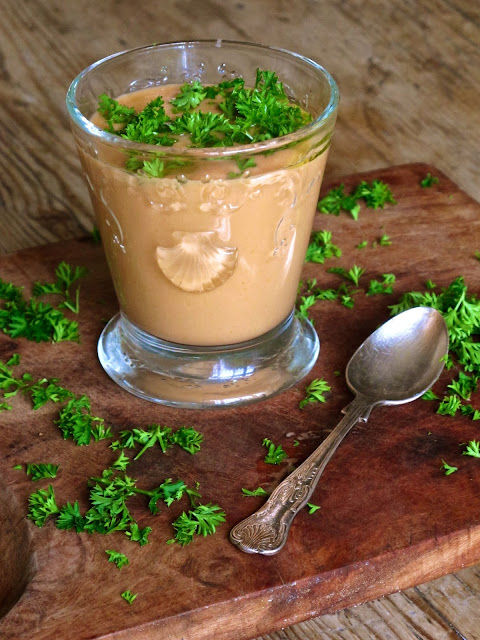 |
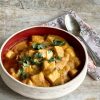
| A classic 30º angle for taking this shot of gazpacho. |
14) Green it up. Keep back some fresh herbs to scatter or fruit, depending what is in the dish. Jamie Oliver’s food shots (often by David Loftus) are quite messy, but energetic and fresh looking. He scatters loads of herbs all over.
Also use a tea strainer to sprinkle a little icing sugar, flour or cocoa powder (which also covers any problems with the food). This gives the picture some movement.
15) Open up the food. Photograph the complete dish then take a bite with a fork or carve a slice or break off a piece. Crumbs are good too.
16) All those old food photography tricks like varnishing chicken and using shaving cream as cream no longer apply. You want naturalistic photography now. There is also the one about putting a microwaved tampon in the food to create steam. Never tried it myself. That said, most cakes in baking books are done with decorated polystyrene models. That’s why the sides and angles are straight and neat. The cakes in my forthcoming book MsMarmite’s Secret Tea Party will be done for real.
Processing:
 |
| The levels |
 |
| Narrowing the levels. Pull in the levers on both sides until they reach the ‘mountainous’ bits of the exposure line. |
17) Post production is your chance to further improve your images. As I said, try to get focus, exposure, crop, right in the camera. But the editing process is also important.
I don’t have great software, I use iPhoto and Snapseed. I’m not very good at Photoshop. If you have Lightroom or Photoshop and you can use it, fantastic. I can’t stand all the bloody layers in Photoshop, they mess with my head.
The first thing I do is narrow the ‘levels’ on iPhoto, by dragging in the markers either side. Then I try to balance the colour, not too warm, not too cold. I sharpen a little, increase definition. In Snapseed, for photos that are landscapes or objects rather than people, I often use the ‘drama’ filter.
If you are a blogger, shrink your pictures when you upload them. This makes them harder to steal and your site will upload more quickly.
18) Look at other people’s work. You can learn most by looking. A great writer must read, a great photographer or artist must look. Here are a few UK based food photographers that I admire:
Jean Cazals: lovely dark textural photos. Love this guy’s work. He won best photographer in the Pink Lady food photography awards last year.
Jason Lowe: a great feel for light, particularly good at reportage, he shot my first book.
David Loftus: energetic, beautifully composed pictures. Jamie Oliver’s photog of choice.
Keiko Oikawa: very feminine, detailed, whimsical pictures
Yuki Sugura: quirky, creative, avant-garde propping. Again a soft feminine approach.
Jan Baldwin: colourful, strong composition
19) But don’t just stick to food. Many of my influences and favourite photographers work in other fields such as fashion or reportage:
Tim Walker
Sarah Moon
Henri Cartier Bresson
Richard Avedon
Sebastiao Salgado
Bettina Rheims
20) Keep shooting. You will get better. I’m getting better. And that’s the great thing about digital, you can shoot as much as you want for little extra cost.
Who are your favourite food photographers? Are they bloggers or specialist professionals? Have you any tips? Please let me know in the comments.
Another immensely helpful post. Thank you. I like this young lady's work-
http://asouthernbellein.com/
Thanks for all the great advice in plain English!
You are welcome.
What type of camera would you recommend?
The suggestions are in the post above. It depends on your budget.
Wow! What an expert and helpful post! Thanks so much for sharing.
Christina
You are welcome
Great tips. Thank you.
No worries, cool.
Thanks for you nice advice on English! It is very good for the writers.
Regards,
Trip advisor
Very comprehensive post. Thanks Kerstin
Thanks Ed.
I love the work of Aran goyoaga on her award winning blog Cannelle et Vanille its clean and fresh but perhaps a little over propped at times! great advice here
shirlee posner
http://www.shirleeandjaneeatsurrey.com
Thanks Shirlee. Yes her work is lovely… wonder where she gets her spoons.
Lovely post! Check my site out and see what you think – kbfoodphotos.com
Good stuff KB. I see you are doing mostly reportage and street food.
This is really useful post, I will return to it and read it again. Sometimes I get a great photograph, other times they are terrible. These are top tips to reduce the number of terrible ones I take, thanks!
Great post Kerstin and always useful to pick up extra tips. I do like a bit o' green to sprinkle about, especially if the dish is looking a bit beige, so I know about that one.
Never thought about incorporating bukakke into my photography before though.
; )
It's essential Danny for that magic sparkle
Saw this on Twitter and had to come over. Thank for your honest, engaging and prettyvthorough post. I really must upgrade to a Canon 6d. And while I'm at it, get an easy to use tripod. Up here in Scotland it's rather a must but mine is too fiddly to get on with.
thanks Kellie, nice when people actually comment! to be honest my tripod although lightweight isn't good enough for studio work. It's not very stable. 6d well worth getting.
In the UK generally, you need a tripod because from October to March one often only has about 5 hours daylight/shooting time. Up north, even less I imagine!
So, so helpful – I'm actually going to print this out and add it to my camera kit (I'll forget all technical bits otherwise). A great big thank you.