Miso is my new go-to ingredient. Whenever I want instant umami, an injection of flavour, I just slather some miso on an ingredient. It’s like Japanese Marmite. As I mention in my new book V is for Vegan, you can even have it on toast.
Miso comes in a range of strengths and colours, depending on the grain used and the length of fermentation. It is created using an ingredient called ‘koji’ which is a kind of fungus, a by-product from sake, the Japanese rice wine. The darker the miso, the longer it has been fermented.
Types of miso:
Rice miso tends to be from Northern Japanese whereas wheat miso comes from the middle of the chain of islands. You can buy rice koji in Japanese shops or on amazon here.
From rice koji:
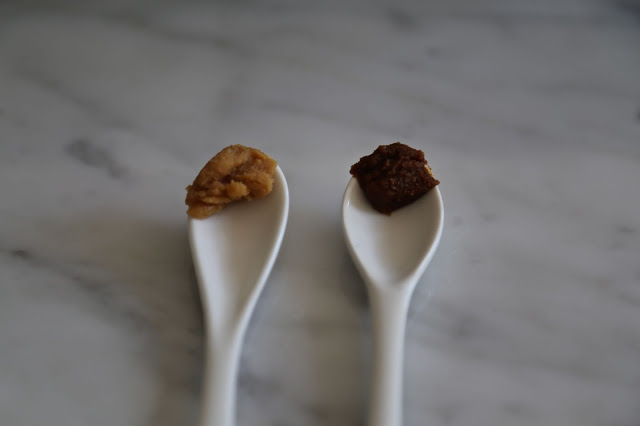
Shiro-Miso: the most common is sweet white miso. Good in salad dressings and condiments
Genmai Miso: light brown rice miso. Good in soups. If adding miso to soups, don’t boil it, mix it with a little of the stock then add it to the soup.
From barley/wheat koji:
Aka-miso and Mugi Miso: red miso
Awake miso and Koshu miso: medium brown miso. Good for soups and glazes.
From soy koji:
Hatcho-miso and Mame miso : very dark brown miso, a bit like Marmite
I went for a lesson in how to make my own miso, which is very simple, given by Japanese cookery writer Yuki Gomi at her beautiful kitchen in South London.
Homemade miso recipe
Makes 2kg
500g dried soybeans (after boiling it’s 1.15 kilos)
225g Sea Salt
500g Rice koji
1.5g salt for seasoning
Equipment
Masher or Food Processor
Big saucepan or pressure cooker
container
Large bowl
Large colander
Clingfilm
Make sure all the containers are very clean.
Wash the soybeans (they expand from a round beans into an oval shape) with tap water then soak in a couple of litres of water overnight.
Then cook them for around 5 hours (skimming off the scum) or for 20 minutes in a pressure cooker, until mushy.
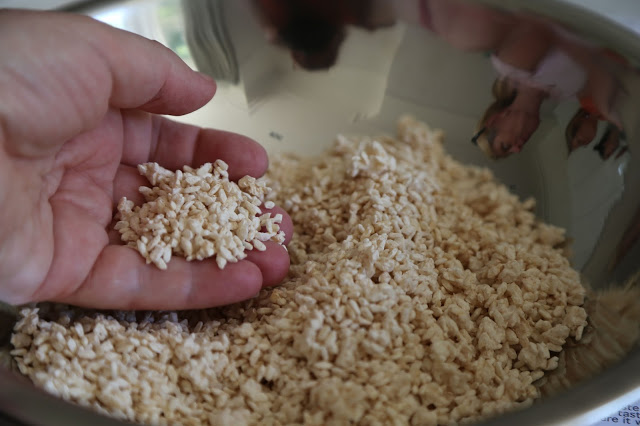
Place the koji and salt into a large bowl and rub the koji together with the salt in your hands until it is all separated.

Drain the soybeans, reserving a large cup of the cooking water, and mash the soft beans in a food processor or with a potato masher.
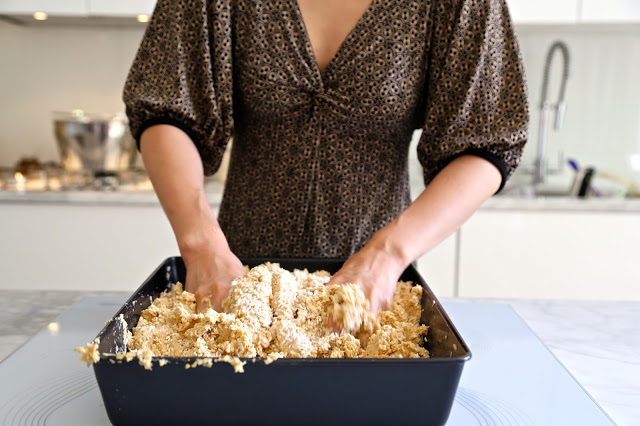
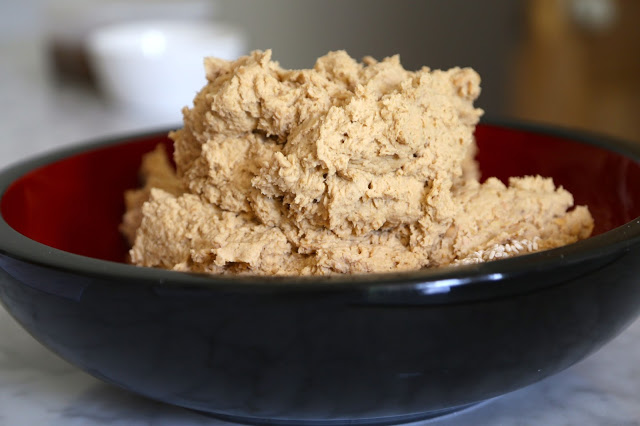
Combine the koji, salt and cooked soybeans together, mixing well.
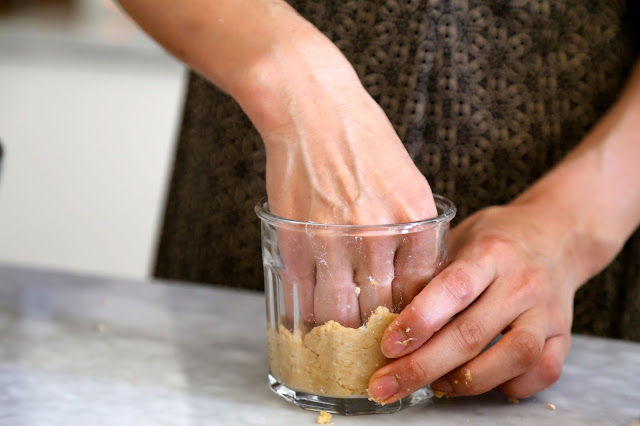
Press the resulting paste into a glass container or ziplock bag in the following way. Make small walnut size balls from the paste then squash it into the container. Why? Because you don’t want any air pockets that could cause the miso to rot while it is fermenting. Using a small glass jar, I pushed the balls in tightly until the top of the jar.
Wipe any excess from the top and flatten the top. Add a sprinkle of salt on top to prevent contamination. Cover with clingfilm and place the lid on top tightly.
Keep the miso in a cool dark place for at least six months. Then start to taste it. Yuki suggests a one year fermentation period for the best flavour. Once opened keep it in the fridge where it will keep for years.
Yuki gives lessons in all aspects of Japanese food, go to her site for more details: YukisKitchen.com Yuki’s book on sushi making Sushi at Home has clear easy instructions and is nicely designed.




This is fascinating. In one fell swoop you've demystified miso and a lot more besides. Brilliant post Kerstin.