

While I’ve always liked Norfolk – white beaches, good food, weird people – I’ve never been to the broads before, and would love to spend time reading and cooking on a canal boat on the watery network.
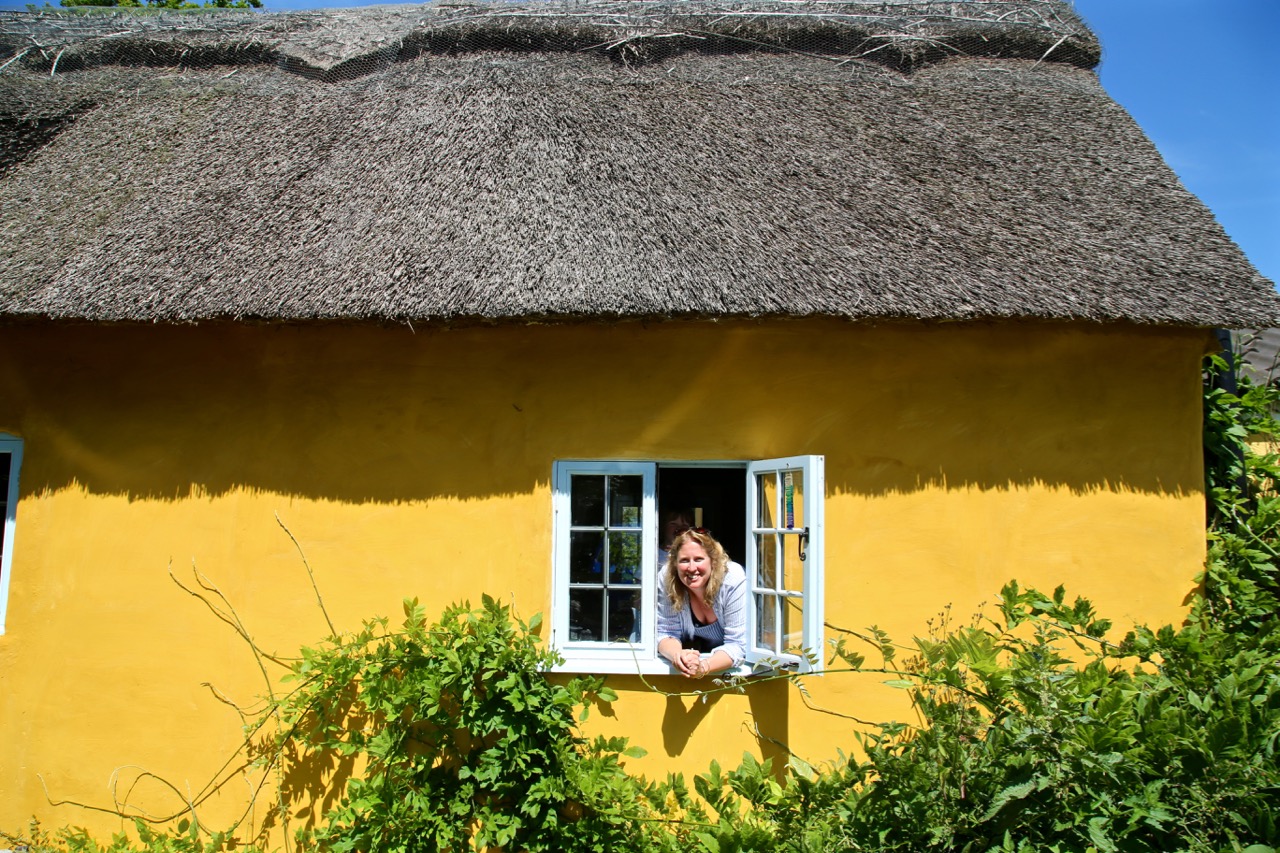
Charlotte Eve and Kate Edwards live in a picture book (yellow, not white) thatched cottage and run courses on how to build a cob oven, a technology that can also be used to build houses. Charlotte opened a window in her cottage kitchen, which then functioned as a serving hatch. We collected our pizzas from there to be baked in the oven.
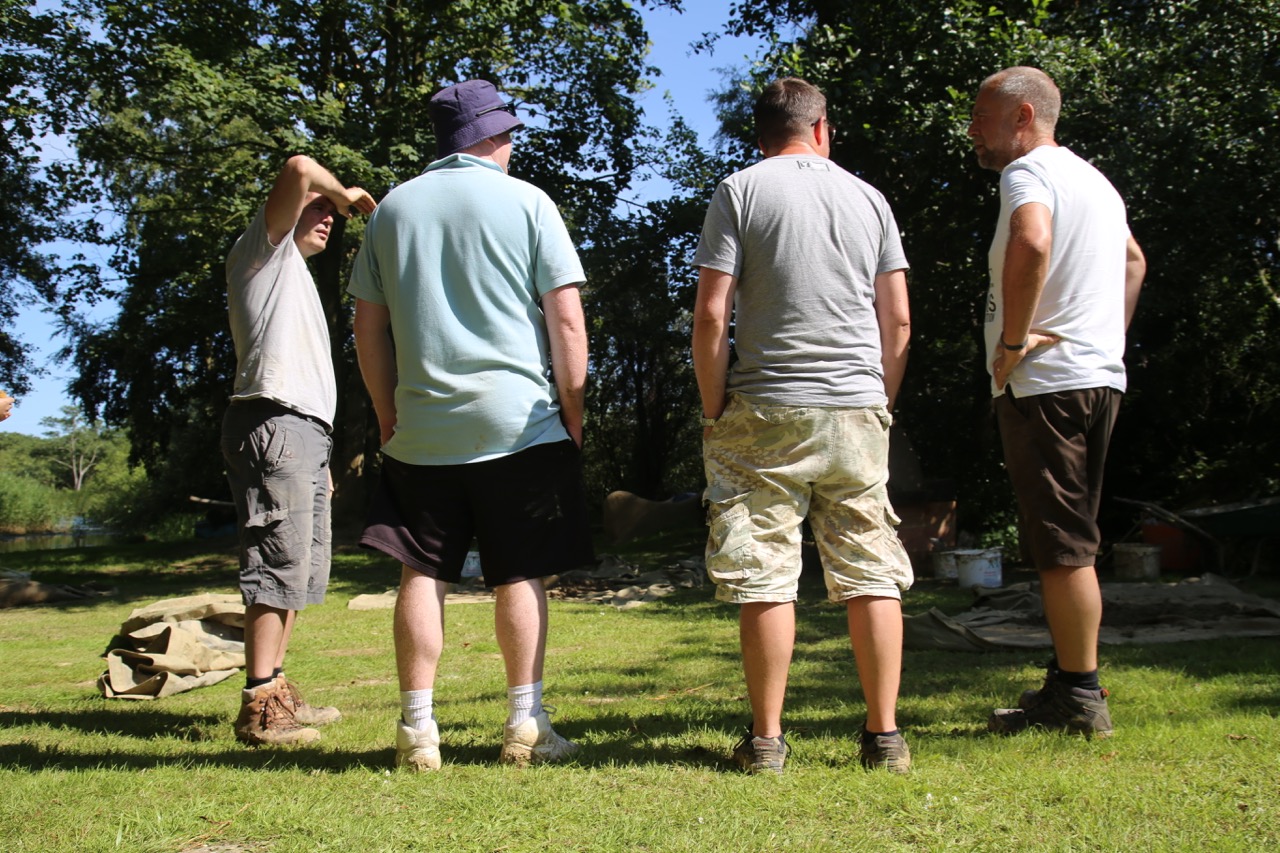
Around 15 people attended the course, evenly divided between men and women. What did surprise me was that the women were more hands on than the men.
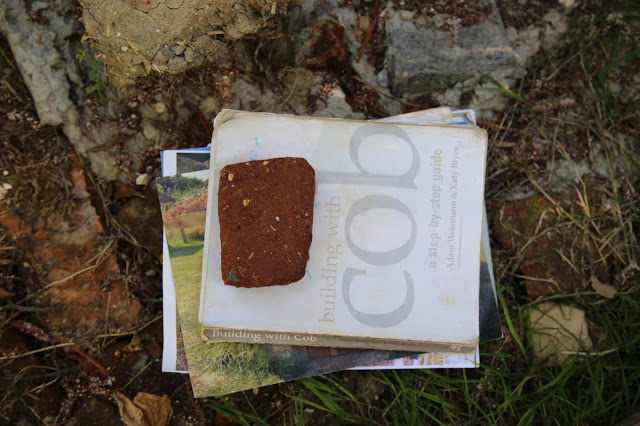
Step by step recipe for building a cob pizza oven
Ingredients:
- 12 bags of 10mm ballast (all in one, light concrete mix) – a mix of sharp sand and stones no larger than 10mm
- Clay (if using potters clay 15%, natural dug clay 25%)
- Straw (not hay)
- Water, to add to the mix
- Stick with a sharp point
- Material for a base
- Plaster trowel
- Cooking surface (either fire bricks or metamorpic rock such as marble or granite)
- Hardwood oven door (the height needs to be 63% of the internal height of the oven; the width is not as important but rule of thumb is about a foot or so)
Method:
Think about the height so you want a level where you can feed the fire, add and remove pizzas and operate bellows while sitting down. Diameter: a 1m diameter base will allow for cooking one pizza at a time. It needs to be strong to support the weight of the oven. You can make a cob base, which is very strong. The base must be weather proof and level.
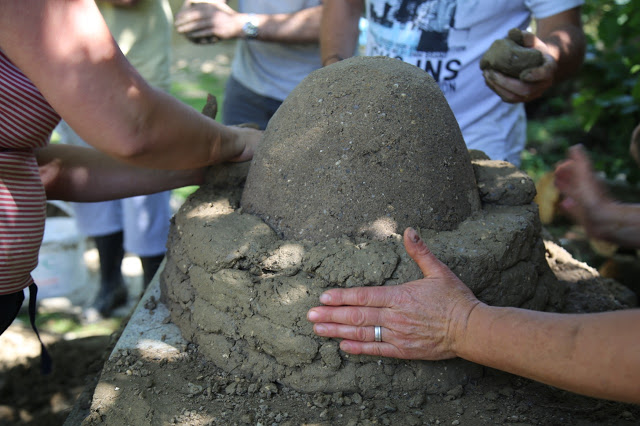
2. Mix 1 part clay to 3 parts sandy subsoil by adding water and doing the cob dance (which entails jumping up and down on the pile).
3. Do 4 big mixes and in 2 of them add some straw (1 part) as well. Keep turning the big piles of cob, adding water and stamping.
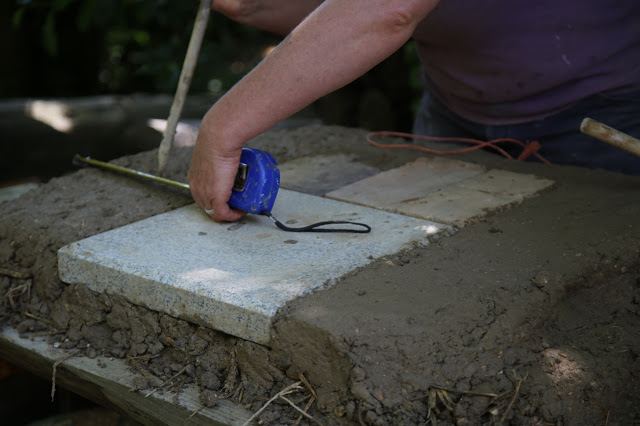
4. Lay the cooking surface level on the base. Use fire bricks or marble/granite.
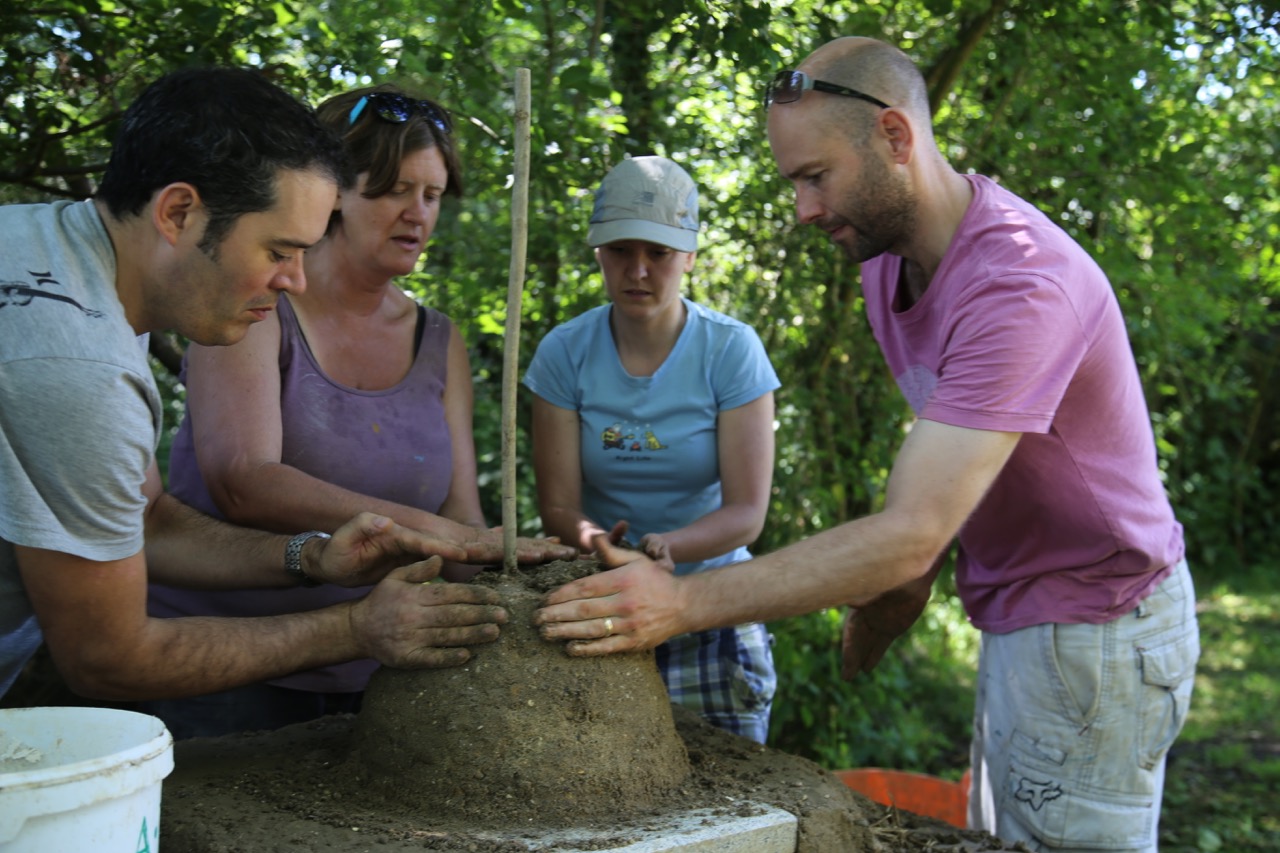
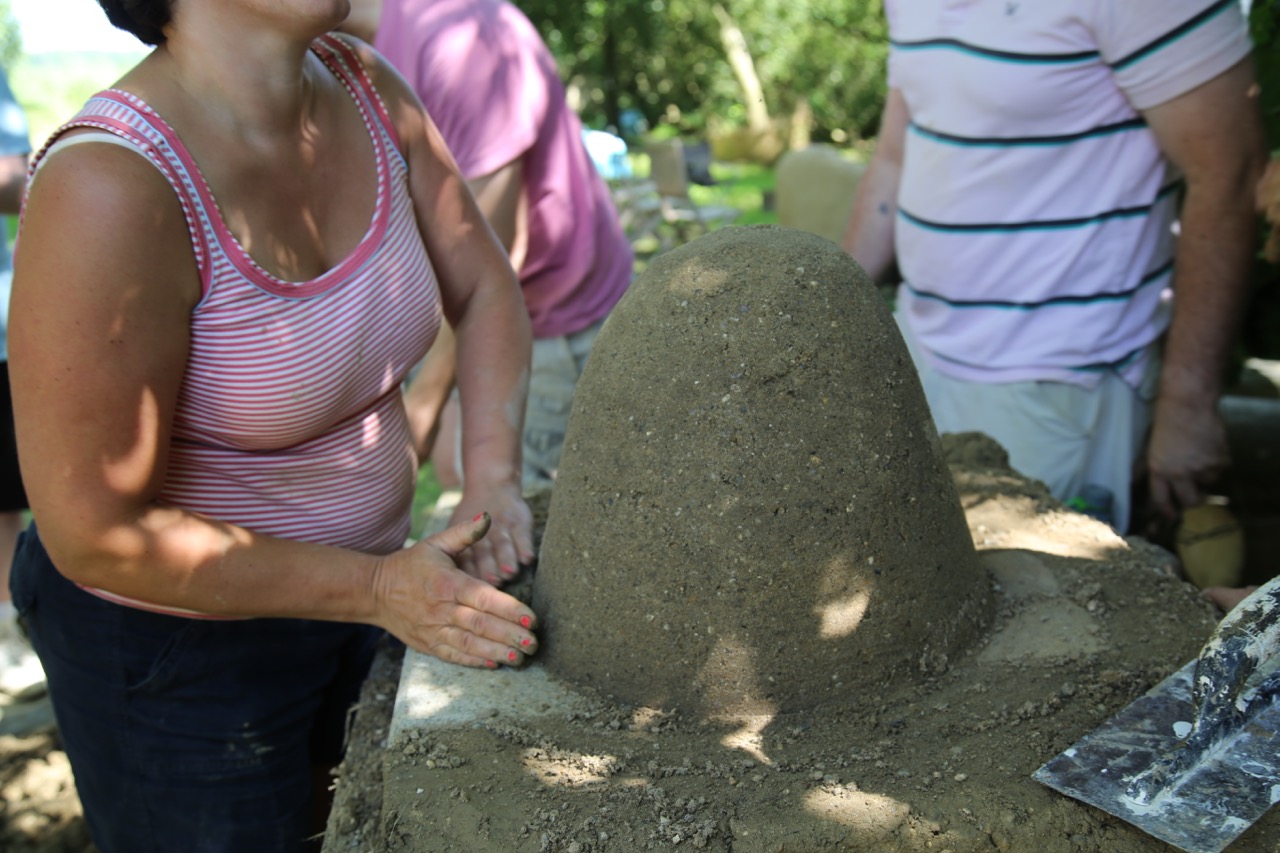
4. Sculpt your oven around a dome of sand (use sharp sand and water to make it stick) which sits on the fire bricks. Smooth it over with a trowel. You don’t want irregularities because the oven will then have air pockets and cool parts.
 |
|
pic by @siennamarla
|
 |
|
pic by @siennamarla
|
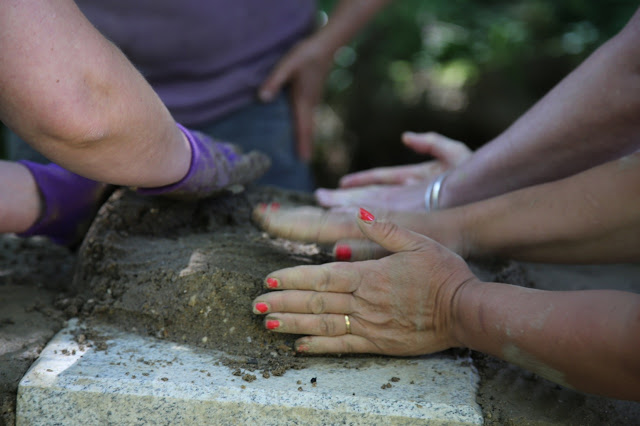
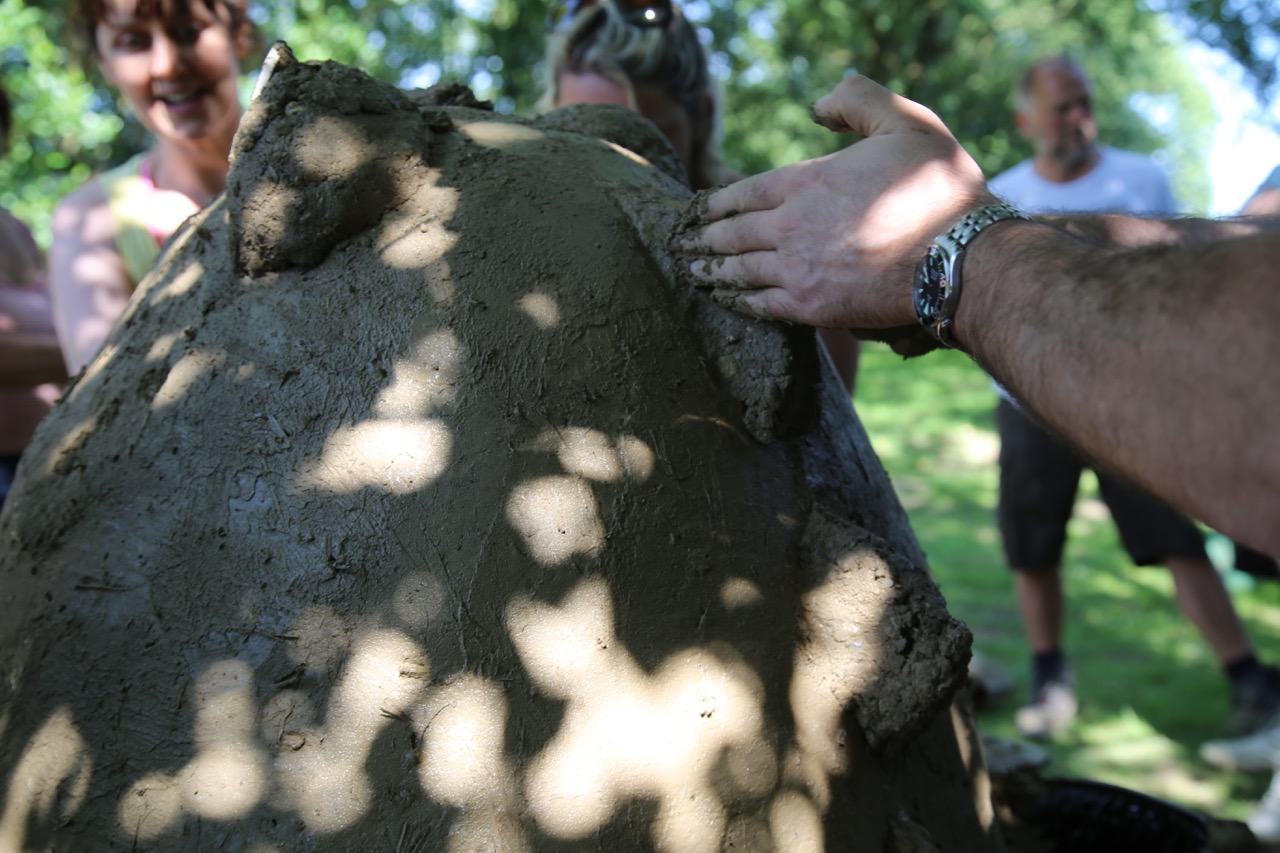
5. Build around the sandy dome by making cob bricks, the size of your palm, with your hands. The first layer is the cob without straw and the second is the cob with the straw (this insulates the oven). The wall must be at least 7 inches thick. Completely cover the dome. When it comes to the smoothing process, the women took over while their hubbies stood by, watching, chatting about plasterers and how they don’t notice the finer details. The oven was smooth as an egg by the time they were done primping.
“Not that we’re perfectionists!” said one.
 |
|
pic by @siennamarla
|
 |
|
pic by @siennamarla
|
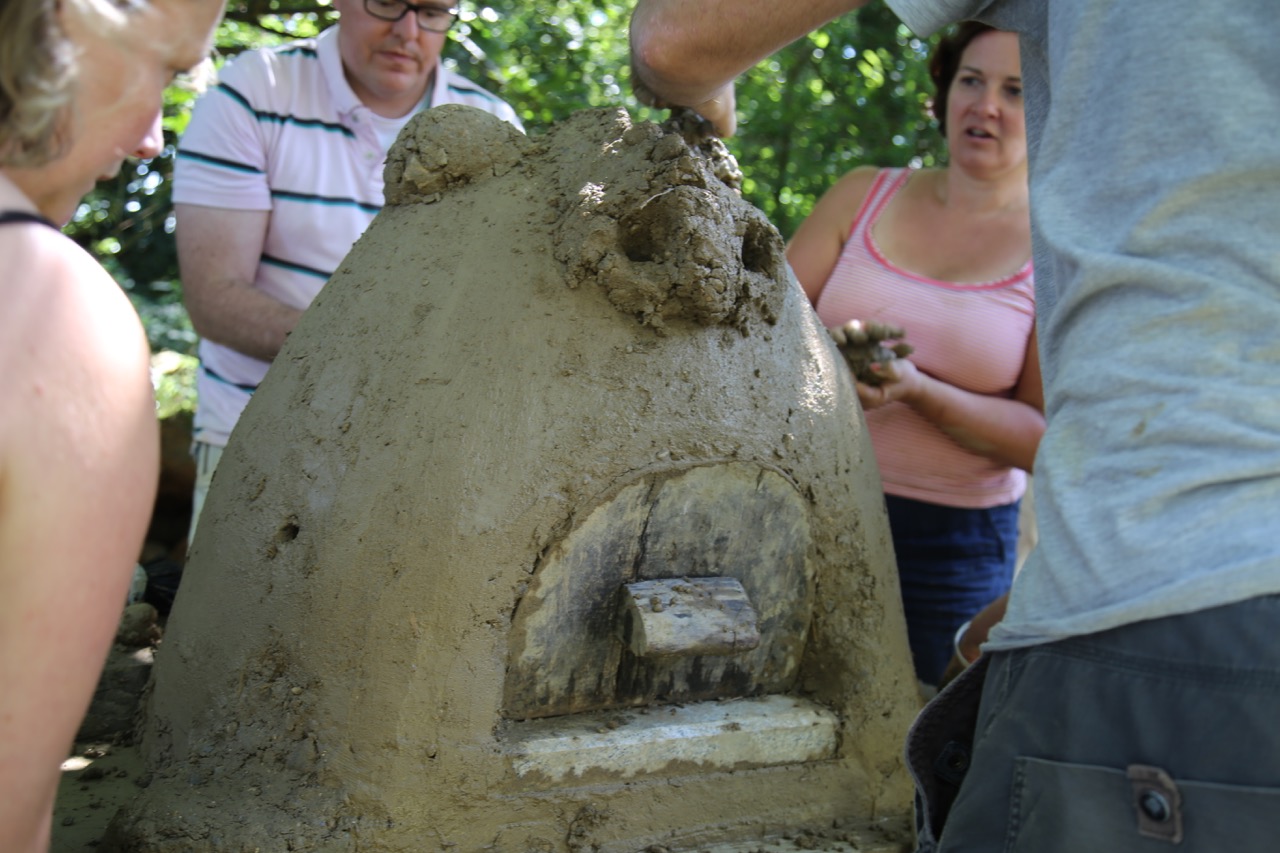
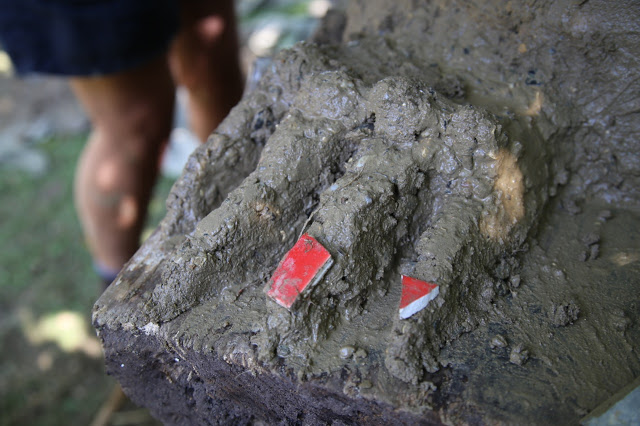
6. Cut out a space for the oven door
Make a semi circular oven door from hardwood. The door must be 63% of the internal height. Use it as a template to draw around it in the cob. Cut into the cob with a trowel. Make sure the door fits perfectly so that you will have a good seal.
Leave it to dry for two days.
When using the finished oven, soak the door in water then press it into the door space. This ensures that the heat is absorbed into the bricks.
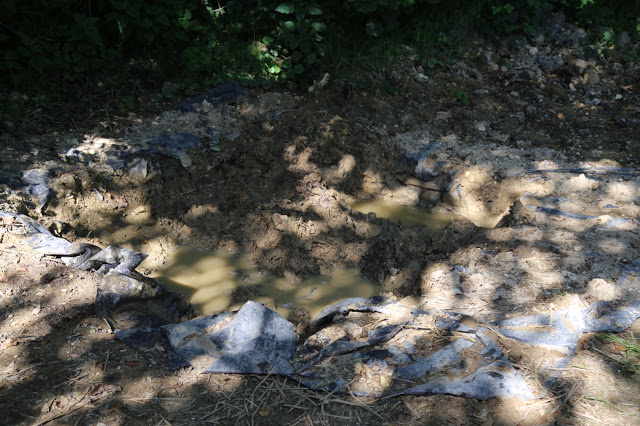
7. Pull out the sand
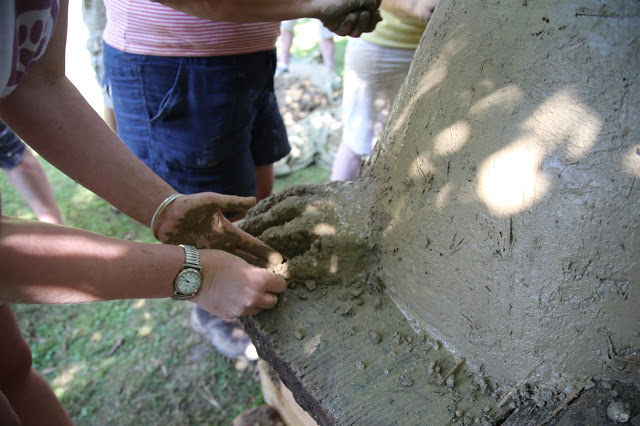
Kate demonstrated how to dig out the ‘former’ (think the opposite of a mould), which we would usually do after leaving it a couple of days. The men became much more engaged when it involved fingering sand out of the oven and bandying innuendos about.
Leave for a week to dry out.
 |
|
pic by @siennamarla
|
 |
|
pic by @siennamarla
|
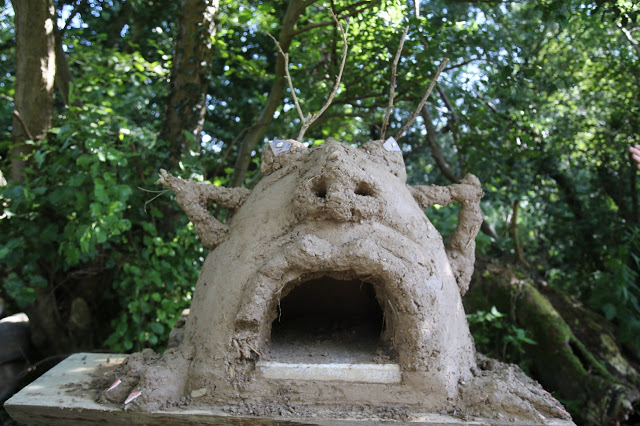
“You can do a dragon very easily.”
Using a stick to bond it to the layers below, a nose was stuck on, followed by eyes, ears, lips and spikes. For fish fins and other more extended appendages, sticks can be inserted and left in place.
 |
|
pic by @siennamarla
|
“Some of us stand with hands in pockets, we know our place.”
“Hand it over to the wife,” added another.
 |
|
pic by @siennamarla
|
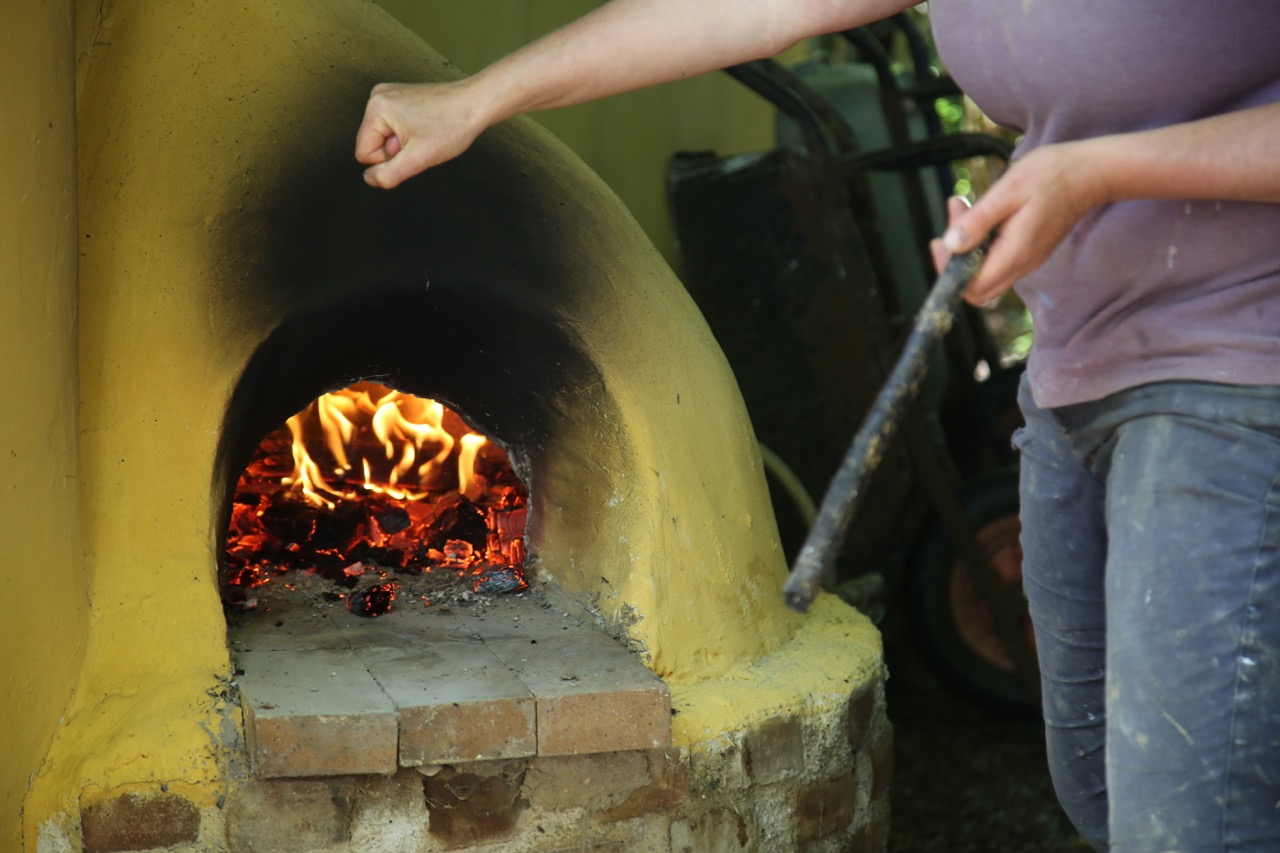
9. Fire it up for 1 day
Ignite kindling and keep the fire going for at least six hours. You should be able to see the moisture from the cob.
10. Final coat of cob
The oven now should be sealed either with more cob (without straw), fibre chalk or lime.
Then your oven is ready.
Maintenance: cover the oven when it is not in use. If it cracks, add more cob.
Charlotte’s pizza for the cob oven recipe:
1/2 tsp fast action dried yeast
A big pinch of salt
1/2 tbsp quality olive oil
Some hand hot water
Mix it, then knead for a few minutes until the dough has a spring in it.
Leave it to prove for about 1.5 hours.
Cut the dough with a sharp knife into portions and roll out with a rolling pin on floured boards.
For the tomato topping:
Method:
Cut a chilli in half and throw it in the sauce.
Add a big bunch of basil to the sauce.
Simmer gently and let it reduce slowly.
Remove the chilli and basil.
Spread it on the pizza bases.
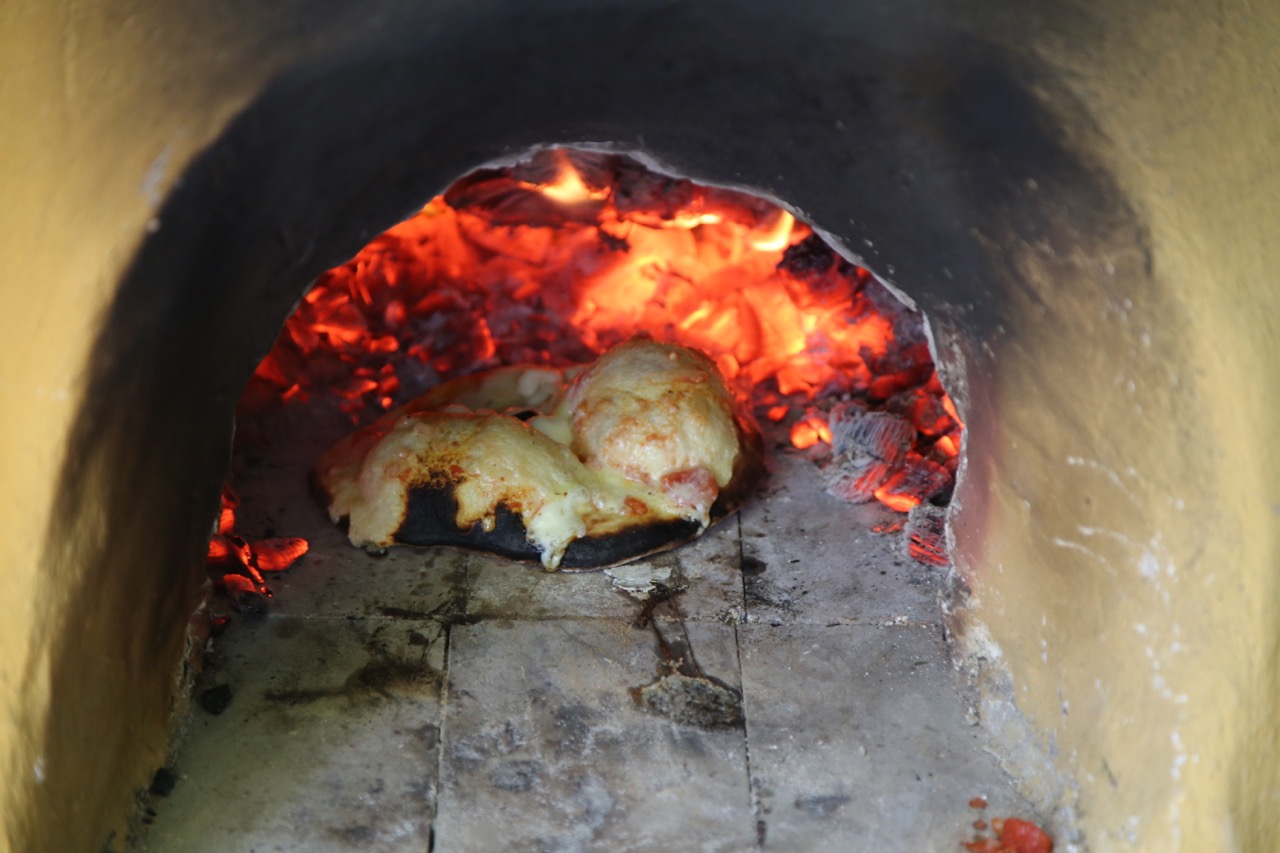
Add your cheese – not too much – the pizzas cook so quickly in the cob oven that the cheese won’t have time to melt before the base is cooked if there is too much cheese.
Add dried herbs.
Avoid fresh basil before cooking – it wilts and burns up.
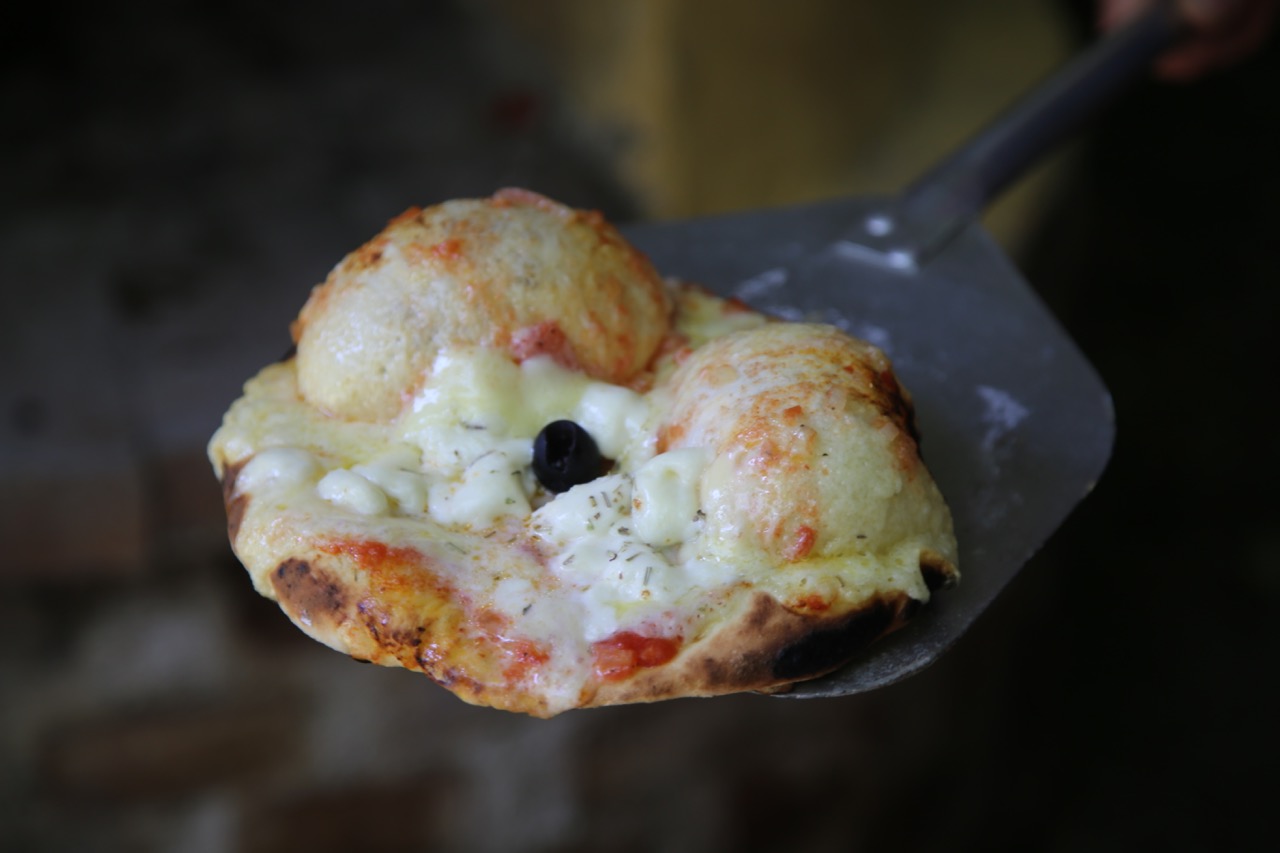
The pizzas should cook and puff up (see below) in 1 minute in the oven.
Obviously the best way to learn to do this is to attend a cob oven building course. Cost for a one day course and lunch is £120 per person. They also teach how to make a cob tandoor oven.
If interested in doing one of their courses please contact Charlotte and Kate at sheepie32@hotmail.com.
Thanks to Sienna for co-authoring this piece.


Ah, but we women are socialised to get on with the messy stuff: childbirth, pregnancy, menstruation, nappies, vomitous children, caring for sick relatives.
It doesn't surprise me at all that the women got stuck in.
Nice piece. Go Norfolk!
Did you see Gloss Witch piece on how the big society tends to mean more unpaid work for women?
https://glosswatch.com/2016/08/04/new-statesman-the-kindness-revolution-sounds-like-yet-more-womens-work/
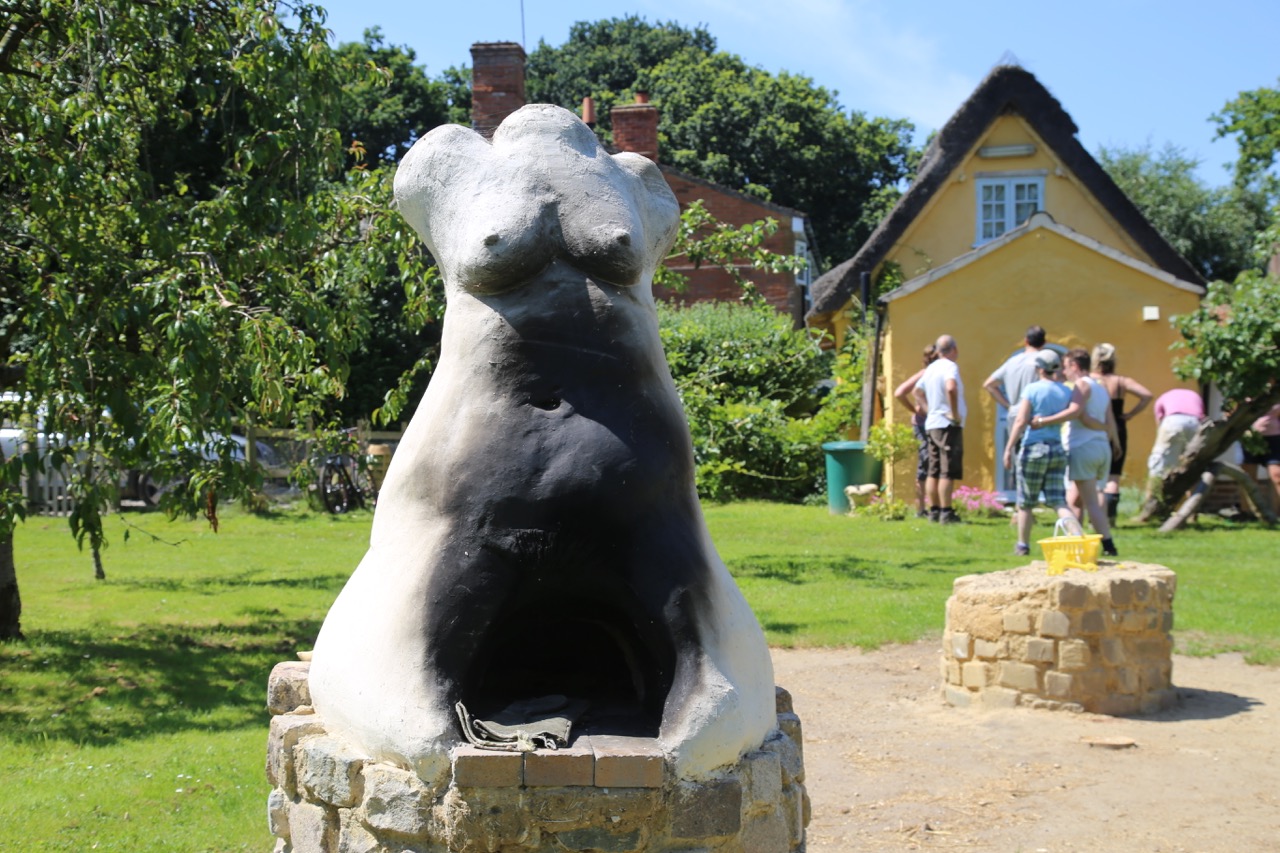
So cool, especially the sculpture element. If I ever have the right kind of garden space for it….
I also love when pizza dough bubbles up like that. At the pizzeria I worked at for a bit in London the chefs got annoyed when that happened, and would pop the bubbles before sending the pizza out? I was always confused by that cos I think it's a good sign! Crispy goodness!
I agree, I love the bubbles!
It was a great day, except for being so ill I had to lie down on the grass and sleep. Sienna had to take over for me.